
Making Puppets!
Learn how to create puppets with this step by step tutorial!
As an elementary art teacher, it took me years to develop best practices when it comes to creating puppets in the classroom. Below you can find step by step directions for my 2nd grade puppet making lesson. For a video of this project, check out my YouTube video at https://www.youtube.com/watch?v=eH_RwBAAZpY to download my lesson plan and resources check out my Teachers Pay Teachers account at https://www.teacherspayteachers.com/Store/Making-Art-With-Ms-Paula-Liz

For this puppet making process you will need the following materials: 2 inch Styrofoam ball, wood stick, aluminum foil, making tape, plaster strips, tempera paint, fabric, needle, thread, a hot glue gun and any other mixed media of your choice!

Step One: The theme for 2nd graders is community! I began the unit by having students draw a picture of a member of their community inside their sketchbook. I provided a reference sheet with examples of different community members to help inspire them. Students used these drawings as references for their puppets during the project.


Step Two: Provide each student with one 2" Styrofoam ball and a wood stick. Place the wood stick firmly inside the ball (as close to center as possible).

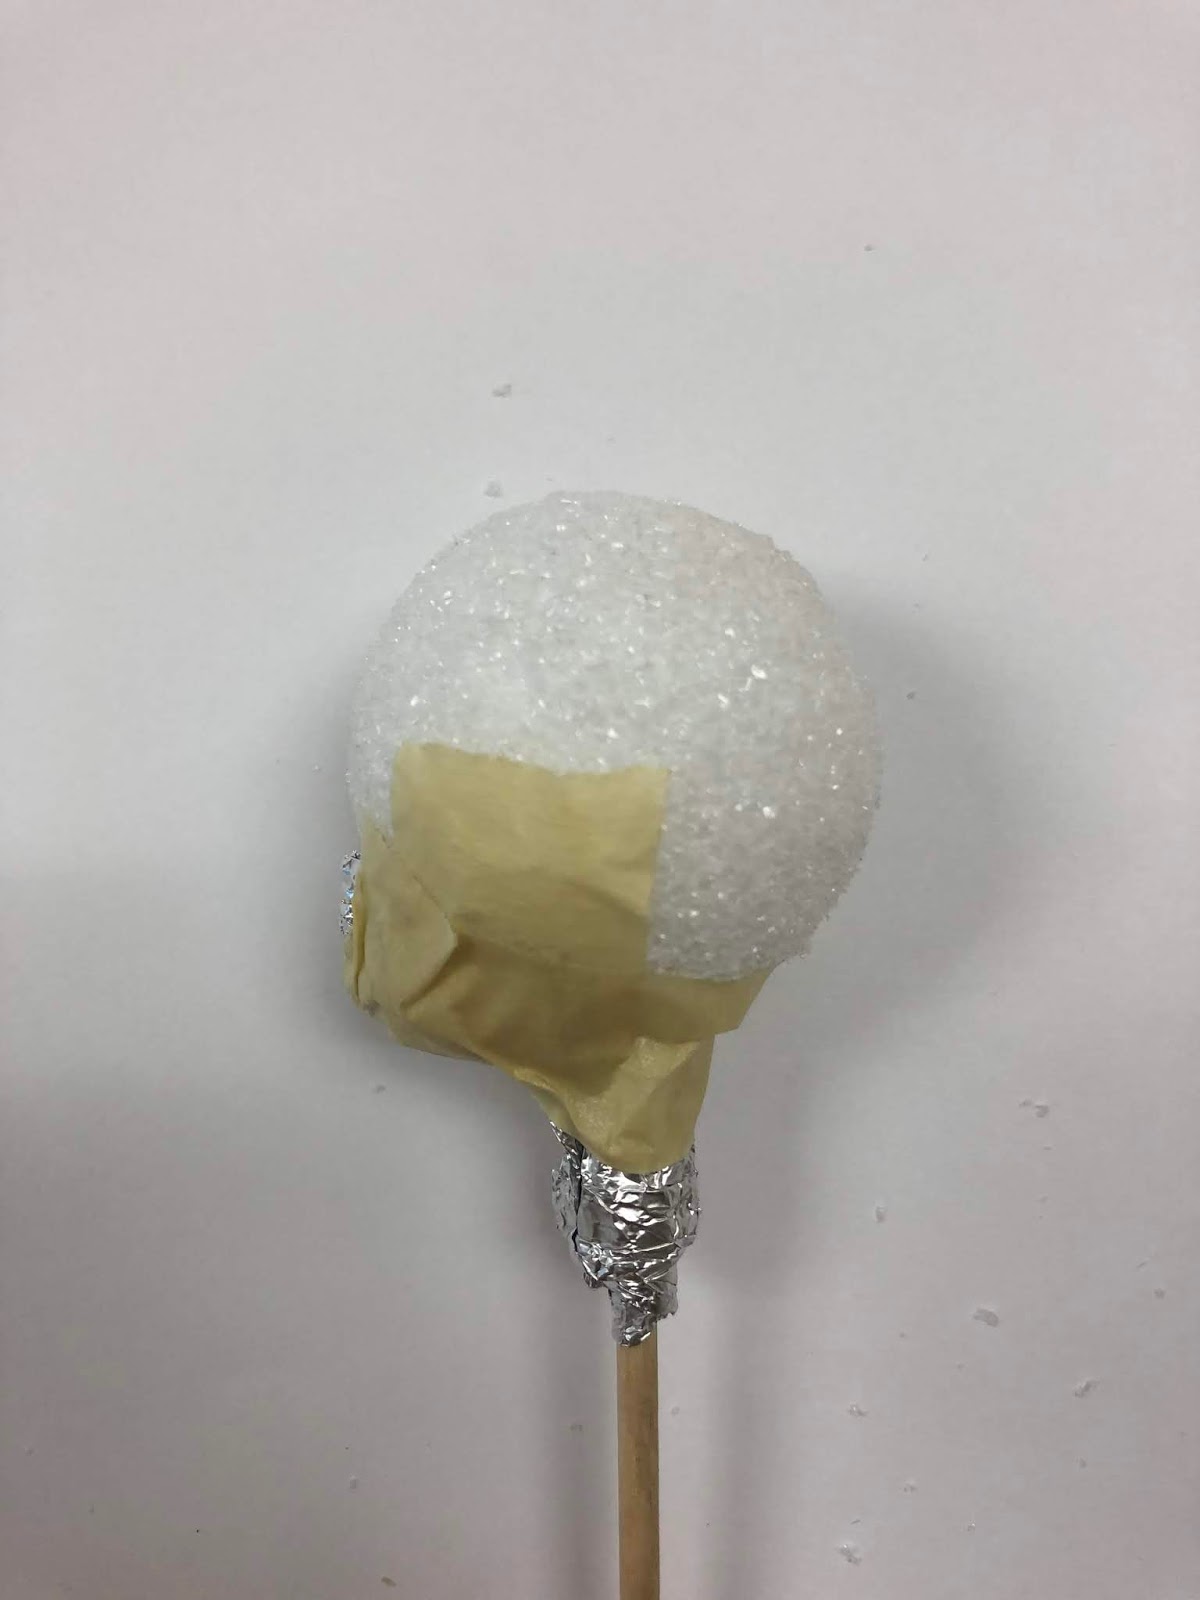

Step Three: Next we will sculpt the puppet's facial features from a profile perspective. Ball up a piece of aluminum foil and tape it onto the bottom of the ball where it meets the stick (this will be the puppet's chin). Next fold and wrap a piece of foil on the top of the stick where it meets the ball (this will be the neck). Lastly, fold the foil into a triangular shape and attach it for the nose.

Step Four: Students will then wrap the puppet's head using plaster strips. Ensure that students add one strip at a time and smooth the plaster as they go along.

Step Five: Once the plaster is dried have students mix and paint their puppet's skin. Make sure to paint the entire face!

Step Six: While waiting for the paint to dry, have students draw eyes and a mouth for their puppet on a separate sheet of paper. I have them trace their pencil with a sharpie before finishing with colored pencils. Once the facial features are drawn and colored, have students cut out and glue their eyes and mouth onto their puppet head.

Step Seven: After students have attached their puppets eyes and mouth, they will then attach the hair. I have students select from a variety of yarn colors and thicknesses that they then cut to size before attaching them onto the puppet head using a hot glue gun. (note: you can either have the students hot glue the hair on themselves, or you can glue it on for them as they finish cutting the yarn). Once the yarn is attached they can cut and style the hair however they would like!

Step Eight: Once the heads are complete, it is time to move onto the body! I have students select from one of two patterns I have created. Their puppet can either have on a long sleeve or a short sleeve shirt. They carefully cut out their pattern before selecting and placing it onto fabric. They then use a marker (similar in color to the fabric) to outline and trace the pattern onto two pieces of fabric. I have them write their name on their pattern that they place inside a bag with their materials in between classes.

Step Nine: After students have cut out their pattern it is time to move onto sewing! I teach students to use either a running stitch or a whip stitch. They then follow their paper pattern to sew along the edges of their fabric. Once they have completed sewing, they turn their fabric inside out and hot glue the head inside.

Step Ten: The next step is the hands/arms. Students are given a pattern based on their shirt that they cut out and trace onto a piece of felt that matches their puppet's skin color. Once they have cut out the hands/arms they hot glue them onto their puppet.

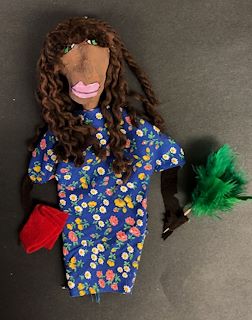
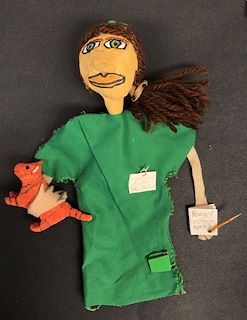
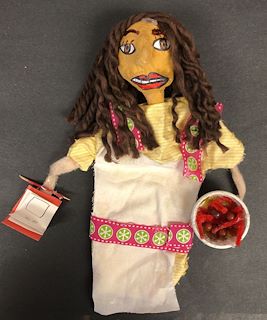
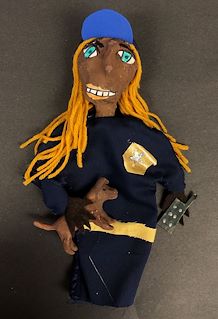
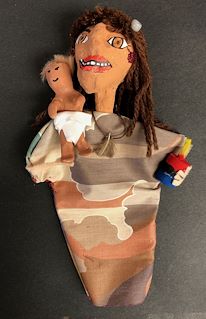
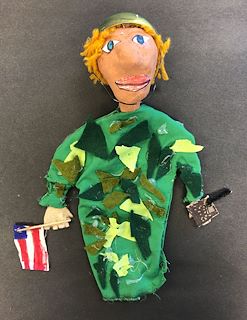
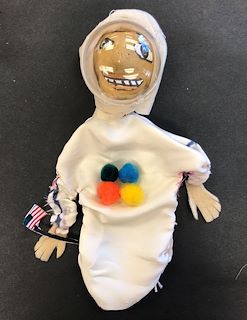
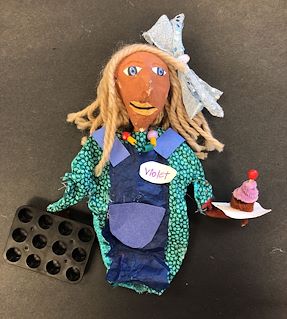
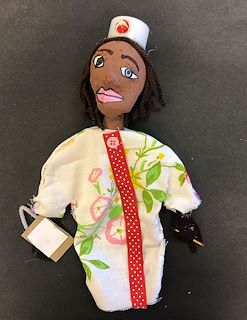
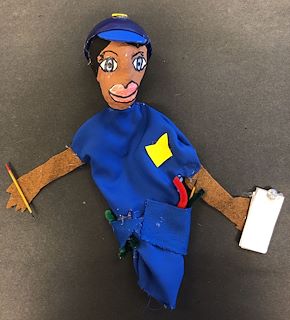
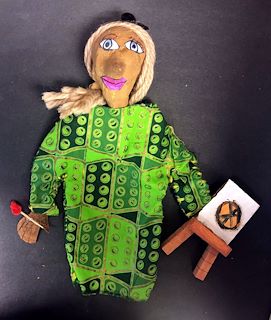
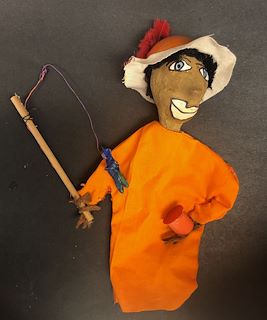
Step Eleven: Embellishments! This is where student creativity really shines! Students have access to an "art store" I have set up in the middle of my room. There are a variety of mixed media elements that students can use to embellish their puppets. I suggest providing cardboard that students can cut and paint to turn into a variety of different props. Check out some of their examples here below for some great ideas!


I hope you enjoyed this tutorial, please feel free to reach out with any questions or comments you may have!
Comments
Post a Comment